Pop-Up Cuties, Zany Zombies and Beaded Suncatchers


Start with toys from the 97¢ Halloween bin at Walmart, chenille pipe cleaners, glitter and some beads.
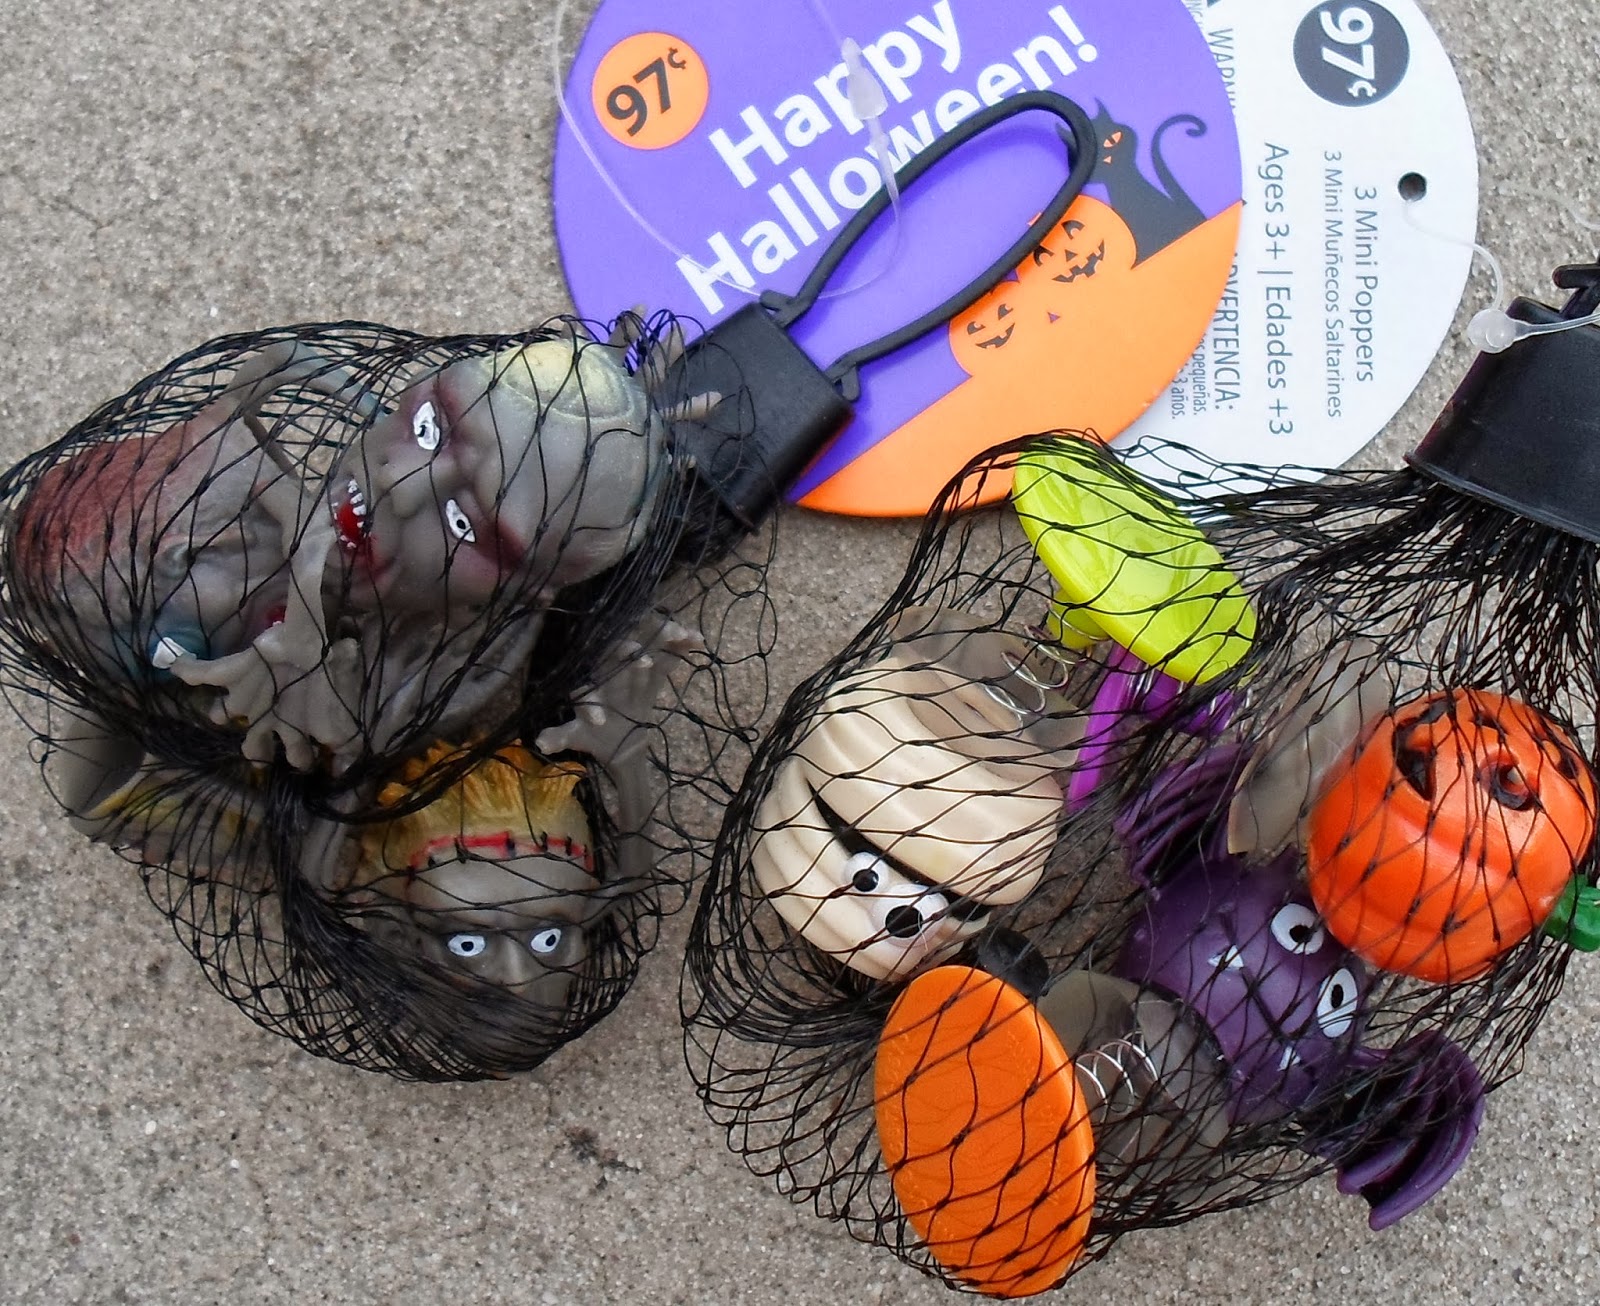
I felt these little pop-up toys would make great ornaments from the moment I saw them! All three have a little tinsel glitter bling and metallic pipe cleaners for hanging.

The Pumpkin: I ran a loose stitch across the top edge of about 5" of ribbon, then gathered it to make the ruffle. Finished it off with some glue and glitter around the edge of the ruffle. Note: I did unscrew the bottoms from the pumpkin and bat and switched them so the colors matched.
The Bat: Glue glitter to the top of the suction cup and a couple star sequins (or buttons) hung under his wings from fishing line give him a little extra bling and the illusion of night time.
PS-These would make great mini-tassels too, idea HERE.
Updated note: You do need to use Super Glue folks, hot glue just doesn't work.
Updated note: You do need to use Super Glue folks, hot glue just doesn't work.
The Zombies: Now, I hate to pick favorites but these just crack me up! You may have briefly seen these little zombies made from finger puppets on my blog the other day. Well, the heads are kinda soft rubber and the hot glue didn't want to stick... So in true zombie fashion-body parts kept falling off:@) To fix that I performed a little brain surgery and poked a hole in the top of the head. Ran a string down through his head, around the bend of the pipe cleaner and then back up through the head. This worked perfectly! (I made the hole by twisting a sharp very pointed knife back and forth-please be careful. Maybe a Dremel would work too?)
Let's meet the boys:

The Halloween tinsel chenille is from the $1 bin at JoAnn Fabrics. The bumps are smaller than the standard size but still work well. I used 4 bumps for the body, the top two bumps where it bends are his torso and the open end his legs. To make the torso wider, spread the bumps (think pink ribbon shape) and glue a third one in the middle. I also bent and glued one bump around each waist.
The Suncatchers: You've probably done something very similar to this at Christmas to make snowflake ornaments. Simply cut a (non-bumpy) pipe cleaner into thirds, twist them together in the middle and push on colorful beads. Using orange, green, purple and black give these a Halloween feel. You don't need to glue something to the middle, I just happened to. A little dab of glue on the pipe cleaner before you add the last bead on each arm helps keep everything in place. I tied on some fishing line for hanging.

So there you have it folks, a few fun ideas to add a little silly sparkle to your Halloween!
Have a happy day:@)
I'm Joining:
Whimsy Wednesday
Inspiration Exchange
Wildly Original Linky Party
Kitchen Fun and Crafty Friday
Strut Your Stuff
Link Party Palooza
It's Fall Y'All
Seasonal Sunday
I'm Joining:
Whimsy Wednesday
Inspiration Exchange
Wildly Original Linky Party
Kitchen Fun and Crafty Friday
Strut Your Stuff
Link Party Palooza
It's Fall Y'All
Seasonal Sunday