Sunday, June 19, 2011

Yo-Yo Tutorial

Hi everyone! Today I'm making some red, white and blue yo-yo's for napkin rings. Just change up the colors for other holidays. They can also be ornaments for a feather tree or turned into garland or a quilt if you're ambitious! Yo-yo's have been around forever, I thought I'd share how to make them.
You'll need fabric, string and any embellishments you think would be pretty.

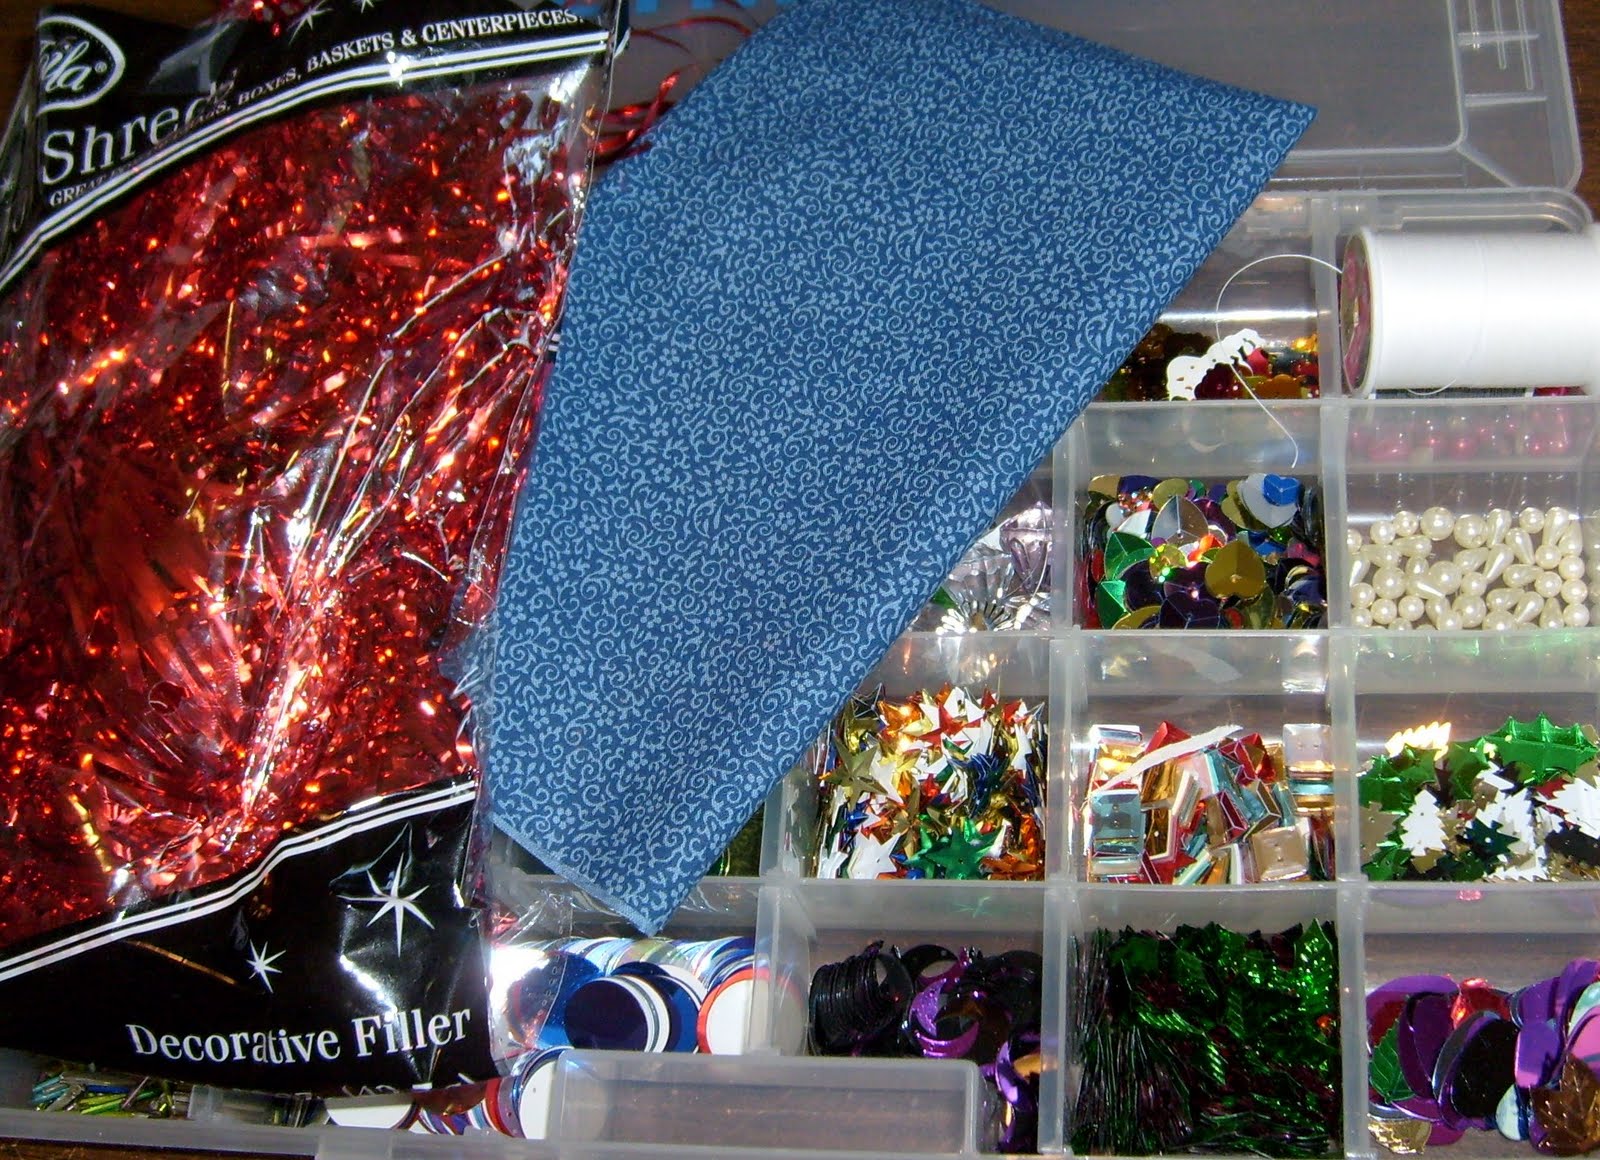
Here's what I'll be using: 

Start by cutting a circle of fabric. Decide what size yo-yo you want then draw a circle twice as big plus 1/2".
I'd like a 2" yo-yo so I'll use my compass and make a 4 1/2" circle.
If you're cutting several yo-yo's you can make a template out of cardboard and just trace around it.
(This is my work table, please excuse the scratches)

Thread the needle and double the thread (pull the end you put through the eye of the needle down to the end you're going to cut). 
Give yourself a length of about 18" of thread. 
Flip the circle so the wrong side of the fabric is facing you. 
Turn the edge over 1/4" and start sewing it in place. You'll want to use a wide stitch, maybe every 1/4".

Continue all the way around the circle.

Gently pull on both ends of the string until the circle closes up and looks like a pouch.

Pull snug and carefully tie a knot in the string. Be careful to not pull so tight that you break the string. 
Push the center down and start pulling the sides out so that the yo-yo will lie flat. (Take it from a puffy pouch to a flat disc.)
Trim off your string. That's it, a completed yo-yo!

I'm going to add a couple 4th of July embellishments to mine. 
I took one of the metallic shreds (tinsel) and folded it in half three times and tied it in the center with string.

Then sewed it in place with a pearl, snipped the ends and added a little curl (using scissors just like curling ribbon). 
Hot glued it to a napkin ring and now I have a fun, festive napkin ring for the 4th!
Have a happy day:@)

I'm joining:

26 comments:

  1. I haven't made those in years, so simple and fun. Cute idea to use them as napkin rings. xo

    ReplyDelete
  2. I am totally putting this in my "must do" file.

    ReplyDelete
  3. I like your instructions ...I have never made a yo-yo but now I might have to think up a project to use them on
    KAT

    ReplyDelete
  4. I've seen these made into all kinds of different things, but never knew how to make them. Cute!

    ReplyDelete
  5. What a clever idea for using a yo-yo! I am so going to have to make some of these. Thanks so much for sharing.

    ReplyDelete
  6. Hi, Lynn,
    Those are just adorable. I love "yo yo" stuff.
    Recently at a quilt show, I saw a plastic gadget that makes making the circles fast and easy.
    D

    ReplyDelete
  7. That is so cute, lovely colour too.

    ReplyDelete
  8. Great idea, this looks fabulous!!

    Blessings, Debbie

    ReplyDelete
  9. Wow, love this idea. I have so many scraps of fabric in my quilting stash and this is a good way to use some of them.

    ReplyDelete
  10. Thanks for the great tutorial. I've never made one of these before, but I love the idea of using it as a napkin ring. I mean, think of the possibilities! Cool!

    ReplyDelete
  11. This is a very cute idea for festive napkin rings, Lynn! I love making yo yos -- I used to make doll quilts out of them when I was a child. I often thought I should try to make a queen size bed cover one day ..that would keep me busy ..lol!

    ReplyDelete
  12. Years ago my mother-in-law gave me a yoyo quilt which is one of my special treasures. Over time the yoyos have influenced my thinking for many creations, including the necklaces that are on my site. You did a great job with your tutorial.

    ReplyDelete
  13. Oh what a cute idea Lynn! I actually have a stack of precut yoyo's from a quilt project I did. Now I am going to have to grab some and make these. Oh geez, no I keep adding more projects to myself!

    ReplyDelete
  14. You are very creative; love this idea.
    Rita

    ReplyDelete
  15. Very fun....love yoyo's....but a needle and thread are not friendly to me. I do much better and am happier with pots and pans.
    Love the name of your blog, love all the food even more!

    ReplyDelete
  16. Very clever and fun project! AND a great way to use remnants...Thank you for the idea!!!
    Have a wonderful week,
    Hugs,
    Donna

    ReplyDelete
  17. Awesome! Thanks for the tutorial. You know the only thing worse than my gardening skills is my sewing skills. :o)

    ReplyDelete
  18. Thanks for showing me how to make these. I have an old yoyo quilt. It makes me appreciate all the hard work that went into making it. What a great idea to use these in making napkin rings.

    ReplyDelete
  19. What a great idea to use yoyos for napkin rings! I might just do that myself! Thanks for the inspiration!

    I would love if you came over and linked this project to my weekly Round Tuit party at:
    http://jembellish.blogspot.com/
    Have a great week!
    Jill @ Creating my way to Success

    ReplyDelete
  20. Great post and nice idea as always!
    Hope to see you on my blog:)
    Have a great week!

    ReplyDelete
  21. These are adorable! I like to craft with my niece and I think she'd like to make a set of these.

    ReplyDelete

Thank you for stopping by-enjoy your day!